| Karnak Temple
After boarding our ship via transfer from a water taxi, we headed to the temple of Karnak.
HOLY MOLY!!
How can you really describe walking into a temple that makes Ancient Greece look young!? The answer…. you can’t. You HAVE TO EXPERIENCE this for yourself.
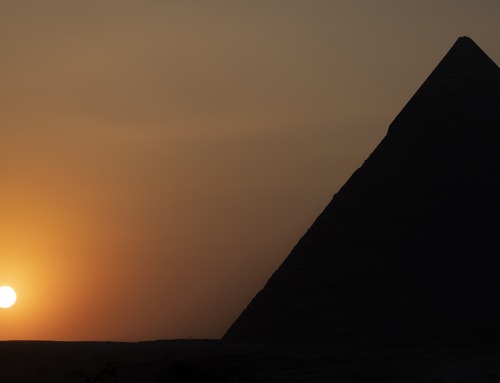
Surrounded by giant statues, hieroglyphics, walls, columns, and more, it is awe-inspiring. More so than the Pyramids in my opinion.
At each temple and site, our lovely guide “Moe” would take us and show us the highlights, share the history, and his passion was infectious and he made it come alive for us. Then, he would turn us loose to photograph and capture the area with plenty of time to do so. It is the perfect combination of touring a site and being able to photograph. |


